- Published on
How to Transfer Files with TransferRocket
- Authors

- Name
- Chris Dite
- @cbdite
In the modern digital age, transferring large files securely and efficiently is crucial. TransferRocket is an excellent option for sending large files without hassle. With TransferRocket, you can transfer up to 5 GB for free and enjoy a pay-per-use pricing model for larger files. In this guide, I'll walk you through how to transfer files with TransferRocket, from selecting files to customizing your transfer's options.
- Select the Files and Folders You Would Like to Transfer
- Give Your Transfer a Title and an Optional Message
- Configure Your Transfer’s Options
- Select Your Preferred Transfer Mode
- Download Your Files
- Video Walkthrough
- Limits
- Conclusion
Select the Files and Folders You Would Like to Transfer
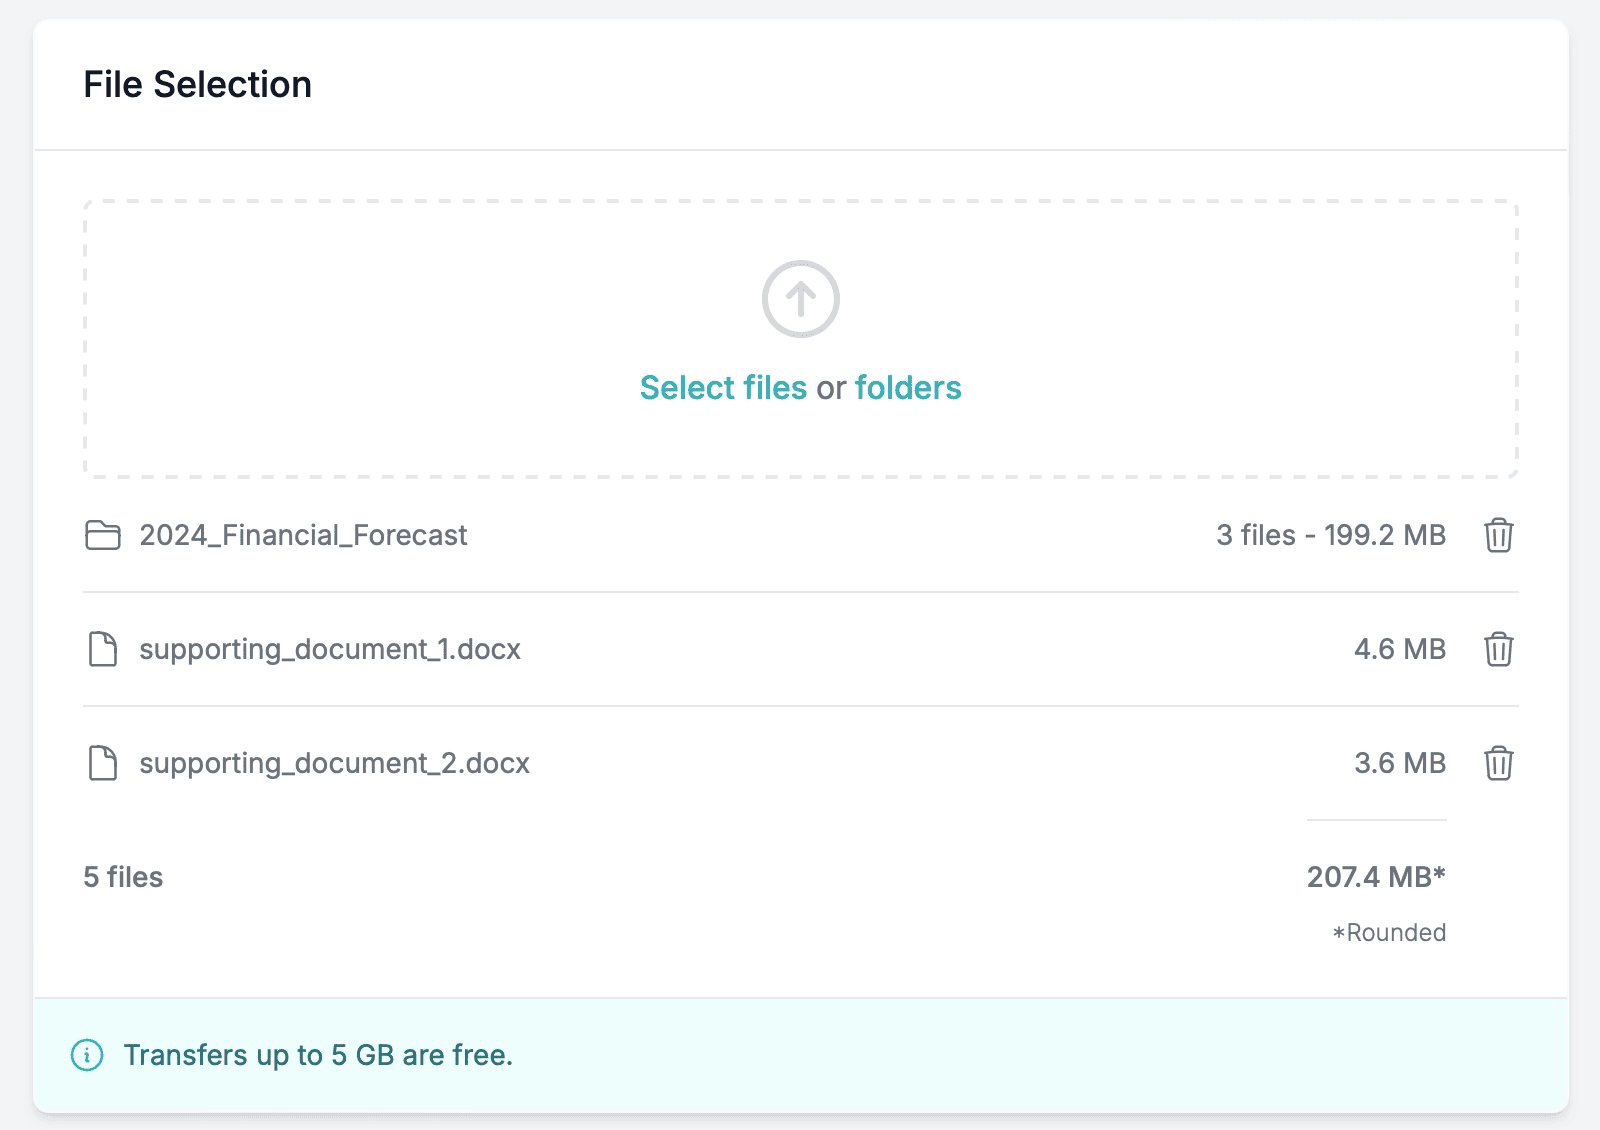
The first step in using TransferRocket is to choose the files and folders you wish to transfer. The platform allows you to send a wide range of file types, including documents, images, videos, and more. The maximum file size currently supported is 200 GB per transfer.
- Navigate to the TransferRocket App in your browser.
- Select the files and folders you want to transfer.
- Optionally, remove an item from the list by clicking the trash can icon.
You can upload multiple files and folders at once, making it easy to transfer entire projects or collections in one go.
Give Your Transfer a Title and an Optional Message
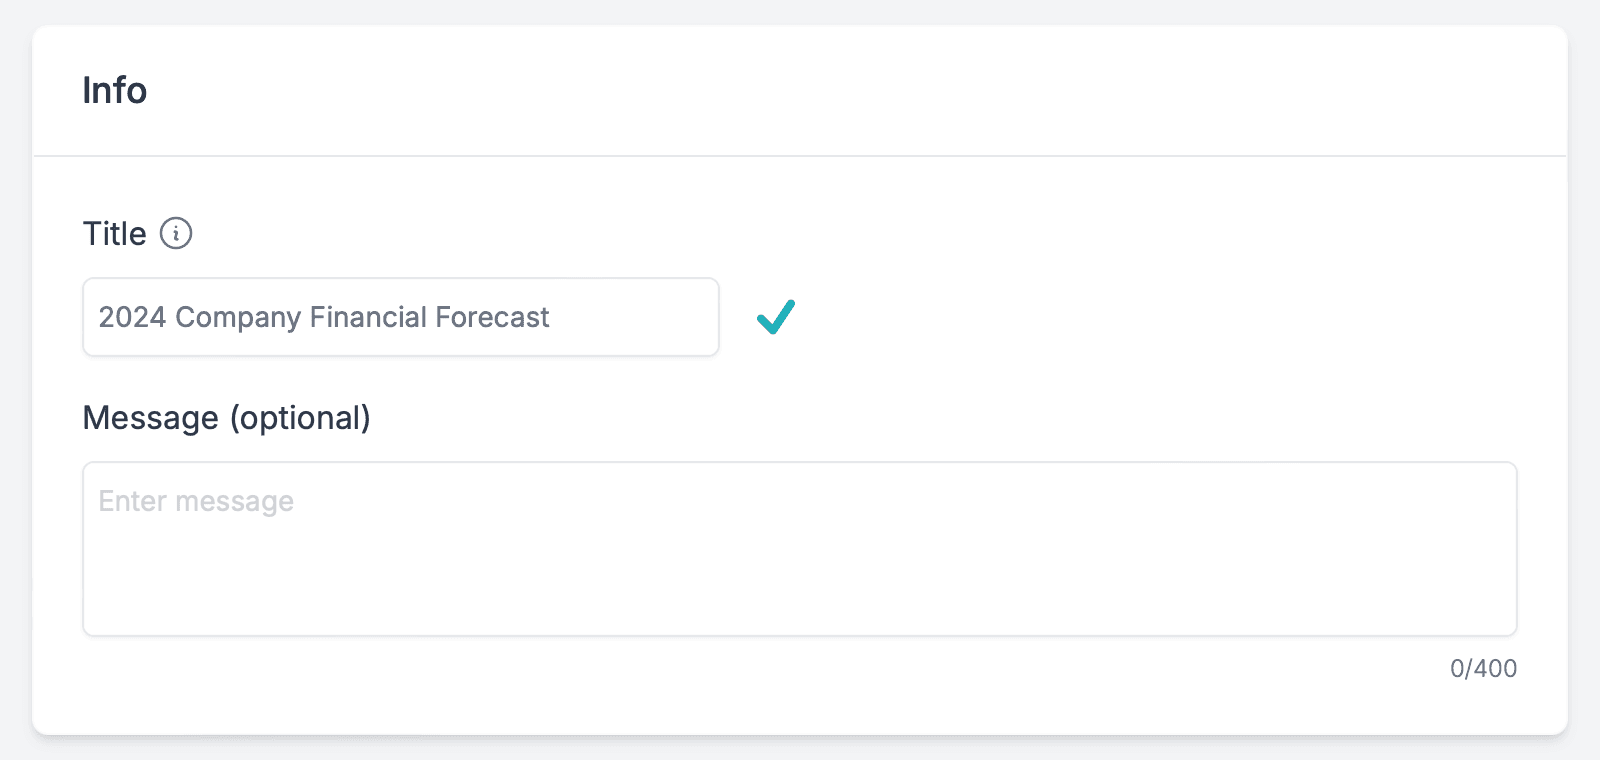
Once you have selected your files and folders, it's time to give your transfer a title and an optional message. This will help both you and your intendend recipients identify the transfer easily.
- In the "Title" field, enter a title that best describes the files you are sending.
- Below the title, you’ll find an optional field to include a message. Including a message is a great way to add context or instructions for your recipients.
Both the title and message will be displayed on your transfer's download page.
Configure Your Transfer’s Options
TransferRocket offers several customization options to fit your needs. Here’s how to configure your transfer according to your preferences:
Set Your Transfer’s Expiration Date
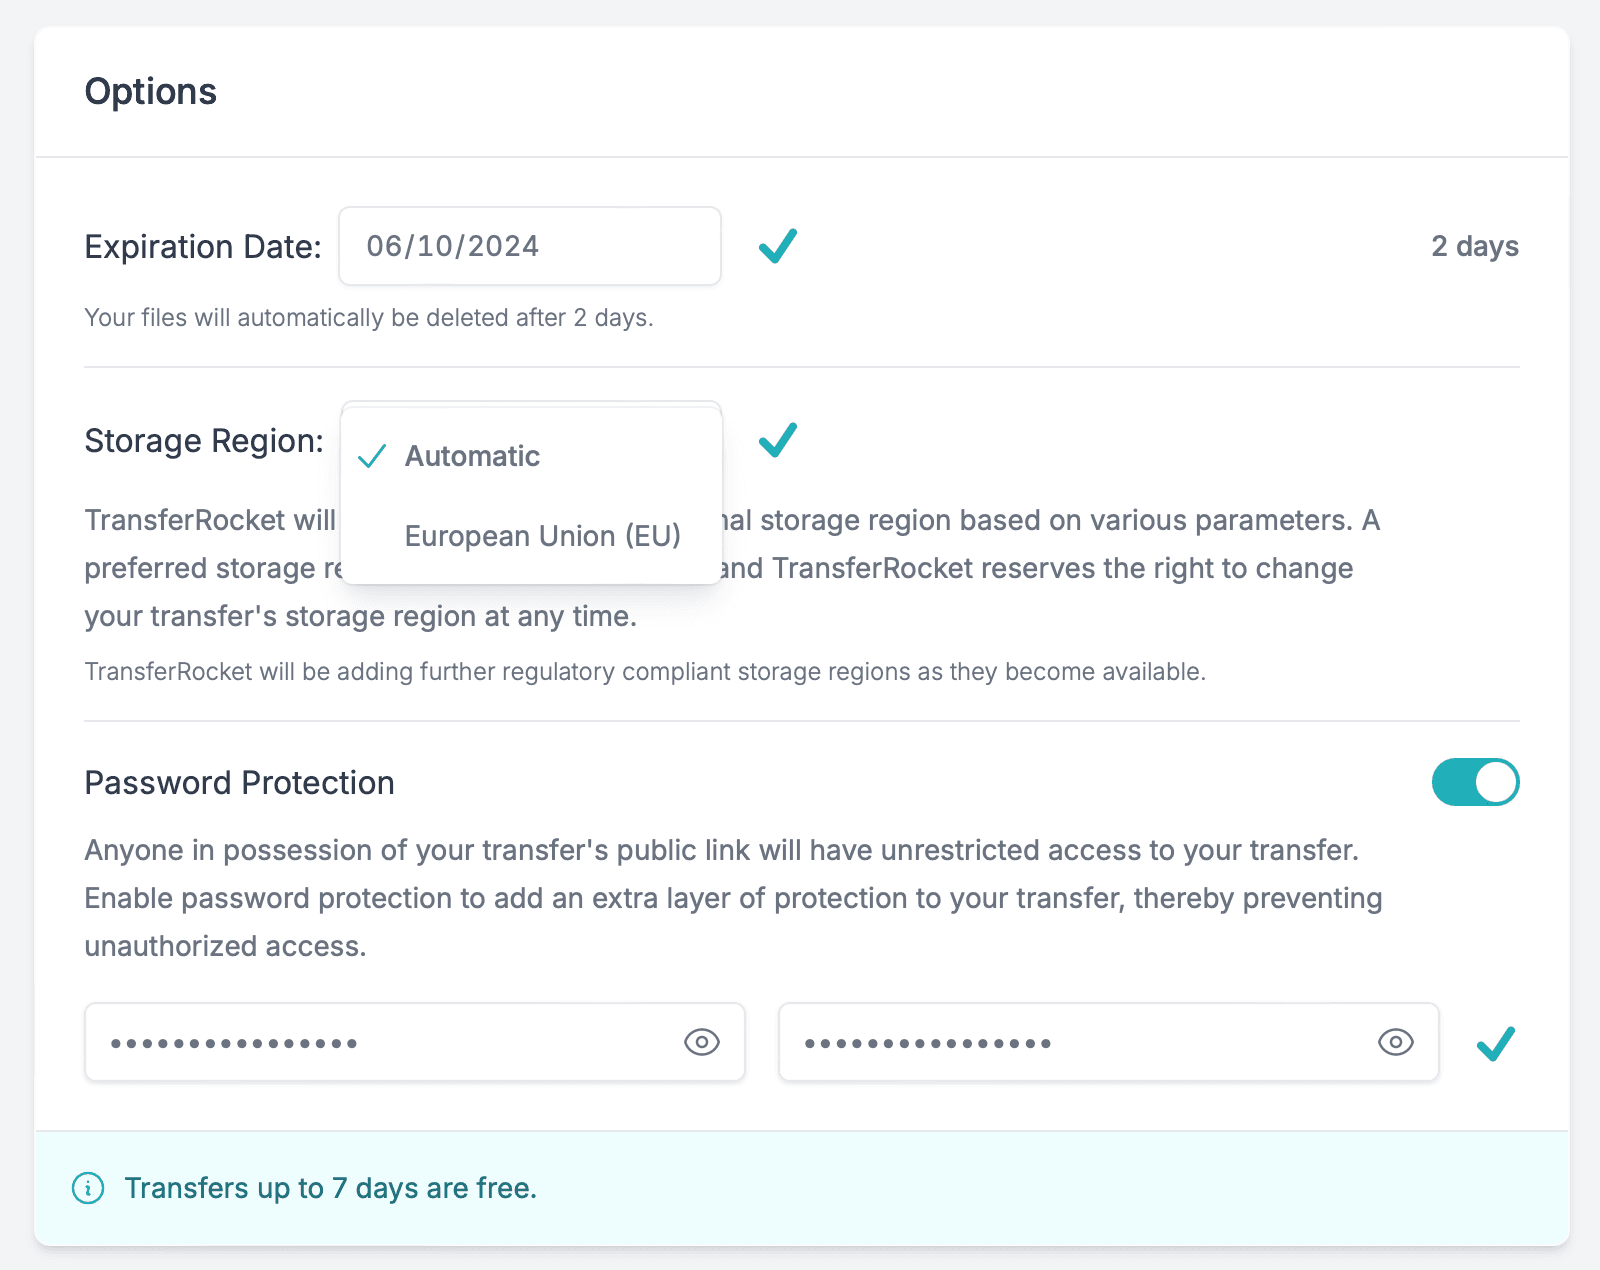
By default, TransferRocket sets an expiration date of 2 days for each transfer, after which all files are automatically deleted. However, you can adjust this to meet your requirements.
- Go to the "Expiration Date" field.
- Set the date when you’d like your files to expire. This could be anywhere from a day to several weeks or months, depending on how long your recipients will need access.
This feature ensures that your files are only available for a limited time, enhancing security. Transfers up to 7 days are free.
Set Your Transfer’s Storage Region
Choosing a storage region is useful if you want to control where your files are hosted. TransferRocket allows you to select different geographical regions for data storage. Available storage regions meet all jurisdictional data residency requirements and local regulations such as GDPR.
- In the "Storage Region" field, choose the region that best suits your requirements.
- Available regions currently include the European Union (EU). TransferRocket will be adding further regulatory compliant regions as they become available.
By default, your transfer's storage region is set to "Automatic" in which case TransferRocket will automatically select an optimal storage region based on various parameters. A preferred storage region cannot be guaranteed and TransferRocket reserves the right to change your transfer's storage region at any time. TranferRocket charges a small fee for custom storage regions.
Enable Password Protection
For added security, you can enable password protection on your file transfers. This ensures that only recipients with the password can access the transfer's download page and associated files.
- Toggle the "Password Protection" option to enable it.
- Enter a password that you will share with your recipients separately.
Enabling password protection adds an additional layer of protection to your transfer, making it more secure. To enhance your transfer's security further, choose a password with sufficient strength.
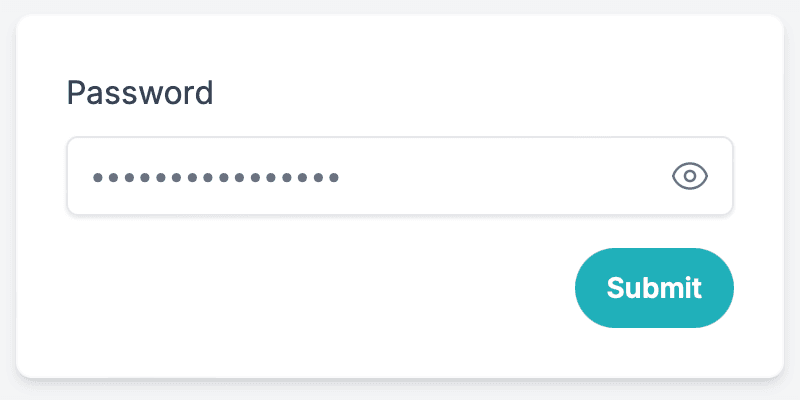
Transfers for which password protection is enabled are only accessible by entering the correct password.
Select Your Preferred Transfer Mode
TransferRocket provides two primary modes for sharing files: via link or email. Both are secure and efficient, so you can choose the option that best suits your needs.
Link
If you prefer to only share your files through a link, then link mode is the right mode for you. Opting for link mode is great when you want to distribute the link yourself via your preferred communication channels. It also makes sense to choose link mode when you don't know your recipients' email addresses.

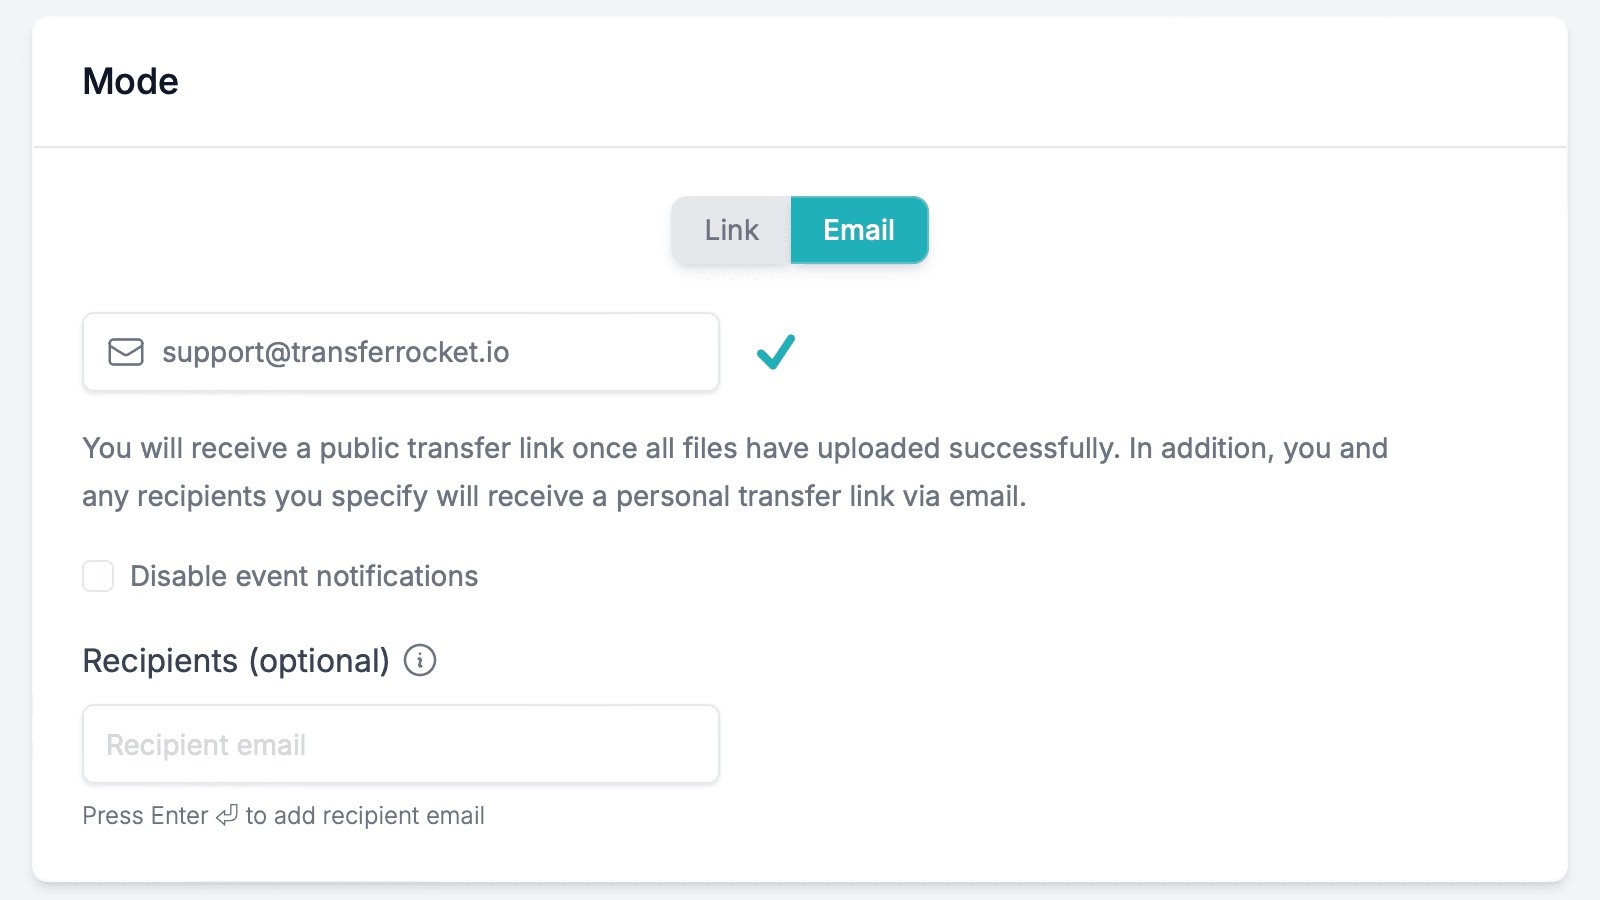
Alternatively, if you opt for email mode, TransferRocket will send the link to your and your recipients' email addresses. In addition, TransferRocket will send you all kinds of event notifications related to your transfer. You can still share the link to your transfer in email mode in the same way you can in link mode.
- Select the "Email" option under "Mode".
- Enter your email address in the provided field.
- Enter your recipient email addresses one by one in the provided field and press Enter. Alternatively, enter your recipients' email addresses separated by commas and press Enter.
- Optionally, disable event notifications if you don't want to receive event notifications related to your transfer. If you disable event notifications, you and your recipients will still receive the email with the link to your transfer.
- Optionally, if you've entered at least one recipient email address, select the option to automatically delete your files once all recipients have downloaded them.
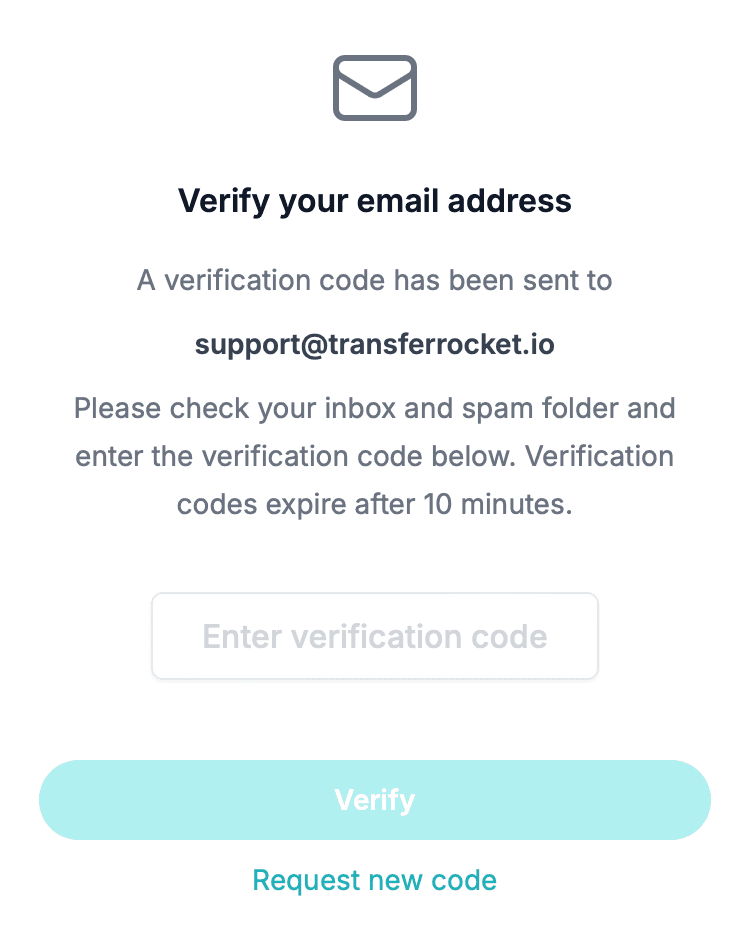
In email mode, you will be prompted to verify your email address in order to be able to proceed.
Download Your Files
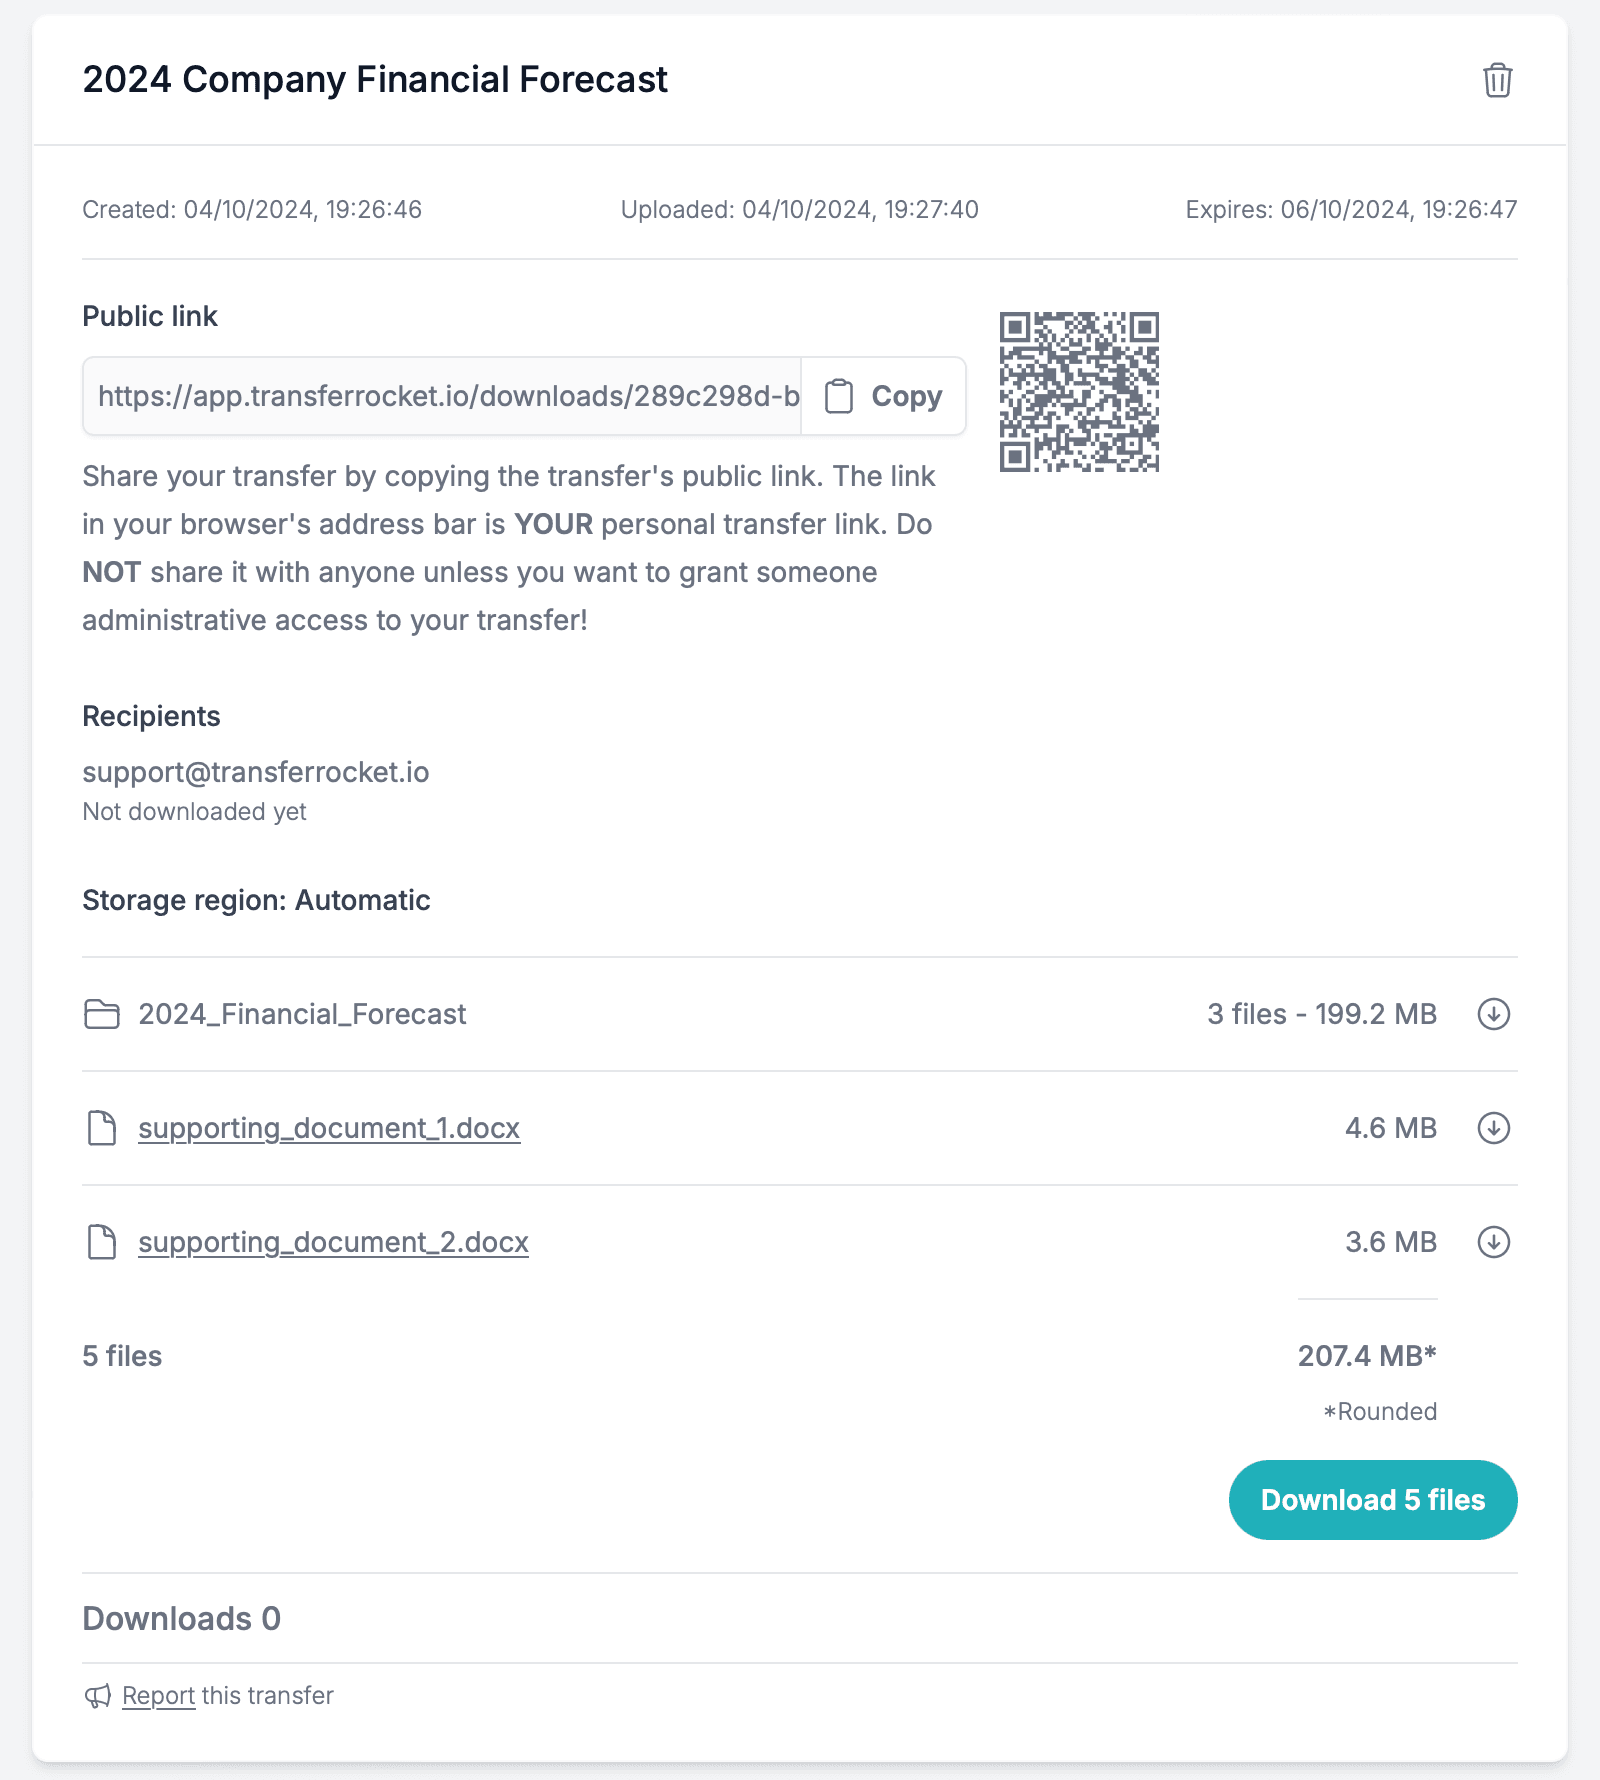
Once all files have uploaded successfully, recipients can download them individually or all at once as a ZIP archive. This makes it easy to retrieve multiple files quickly. Additionally, if a file’s MIME type is supported by the browser, users can view a file directly without downloading it first. This feature is particularly useful for previewing documents, images, and videos before saving them locally.
In Email mode, as the creator of the transfer, you unlock features such as the ability to delete the transfer, track the number of downloads, and see whether your recipients have downloaded the files, along with a timestamp of when they first downloaded them.
Video Walkthrough
To showcase just how easy it is to transfer files with TransferRocket, I've put together a handy walkthrough video outlining the process.
Limits
All file transfers with TransferRocket are subject to certain limits which are outlined here. These limits apply to all transfers unless a bespoke policy has been agreed upon. Please contact us for further information regarding our bespoke policies.
Conclusion
In summary, TransferRocket simplifies the process of transferring (large) files with its intuitive interface, customizable options, and enhanced security features. Whether you're sending files via link or email, TransferRocket offers flexibility and full control, ensuring your transfers are both efficient and secure. Start using TransferRocket today to experience fast, hassle-free file sharing.
For more guides on transferring files, check out these related posts:
Transfer files now with TransferRocket
Transfer files now